


How To Attach Bias Binding
*This post may include affiliate links, which allow me to make a small commission off your purchases. The money is earned at no additional cost to you.
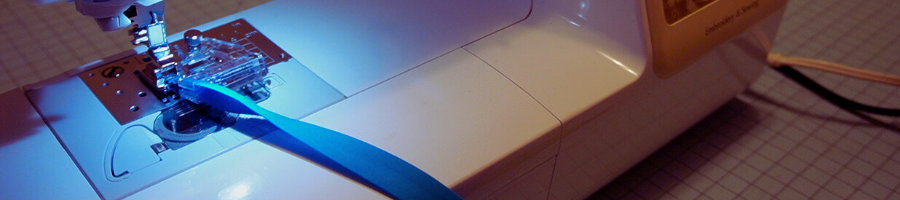
Here is a quick tutorial on how to attach bias binding. Below, you’ll find the written directions and an accompanying YouTube video guide.
Know Your Accessories
There are many different types of sewing machine presser feet available to use for adding binding to your projects. I’ve provided information about how to add binding with 3 of the most common ones.
Straight stitch method
The overwhelming majority of sewing machines come with a straight stitch foot. So, this is what most folks use for attaching bias binding. The foot has its own pros and cons. The pro is you have more control over where the needle and bias tape land. However, there are some cons. The cons are that you have to:
- Sew the tape twice, which takes double the time.
- Be super careful not to miss the binding under foot when sewing. If this happens, you’ll have to unpick the bias binding and start over.
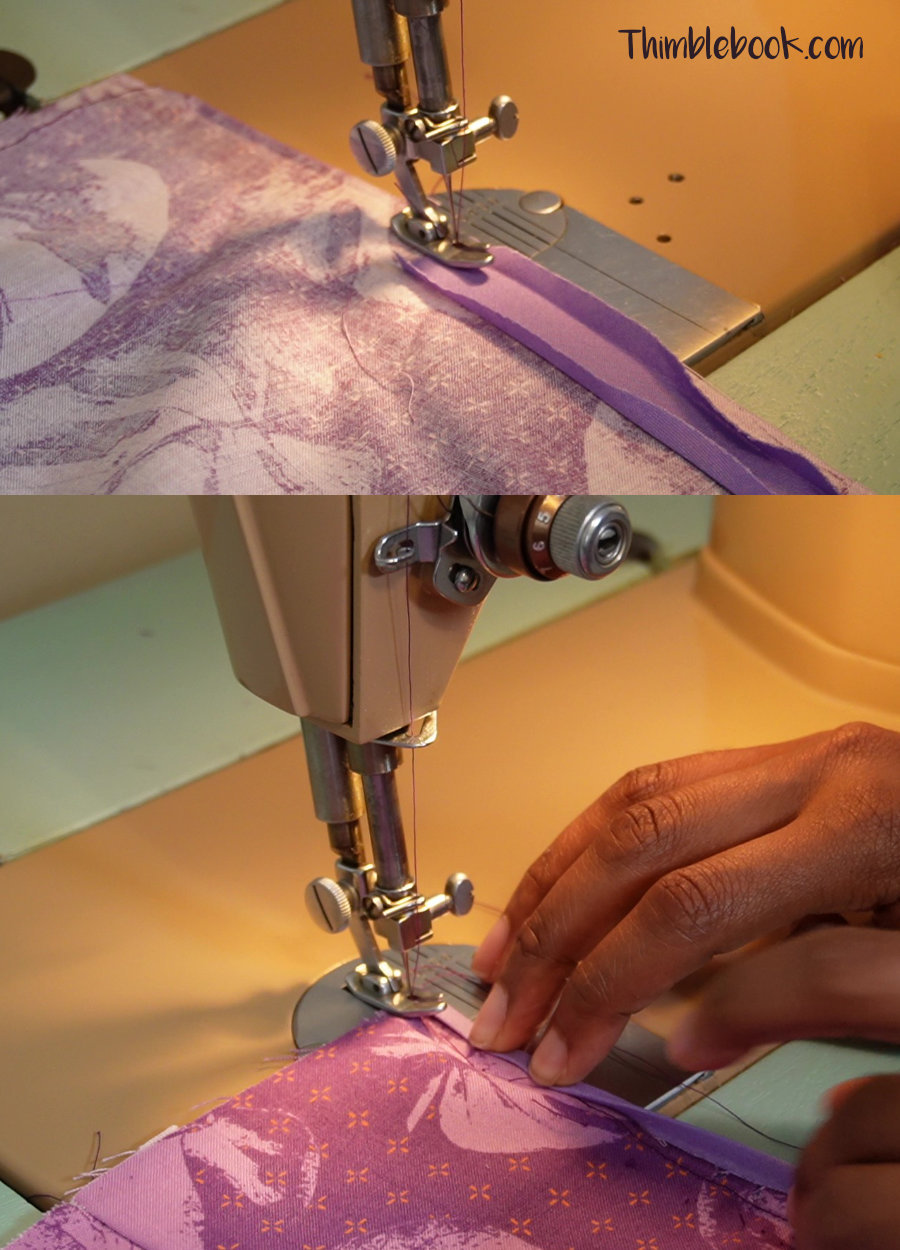
To use the straight stitch foot for binding…
Line the edge of the binding up with the raw edge of your fabric. Then, sew on the crease of your opened binding. Next, fold the raw edge in and enclose it with the folded edge. Secure in place with pins or clips. Now, sew down the folded edge making sure to catch the binding on the opposite edge of your fabric.
Singer binding foot
Using the Singer binding foot is a lot faster than sewing with a standard straight stich presser foot. However, the binding foot only allows you to use specific sizes. For example, the binder I have only allows you to use tape just under 1 inch wide (15/16ths).
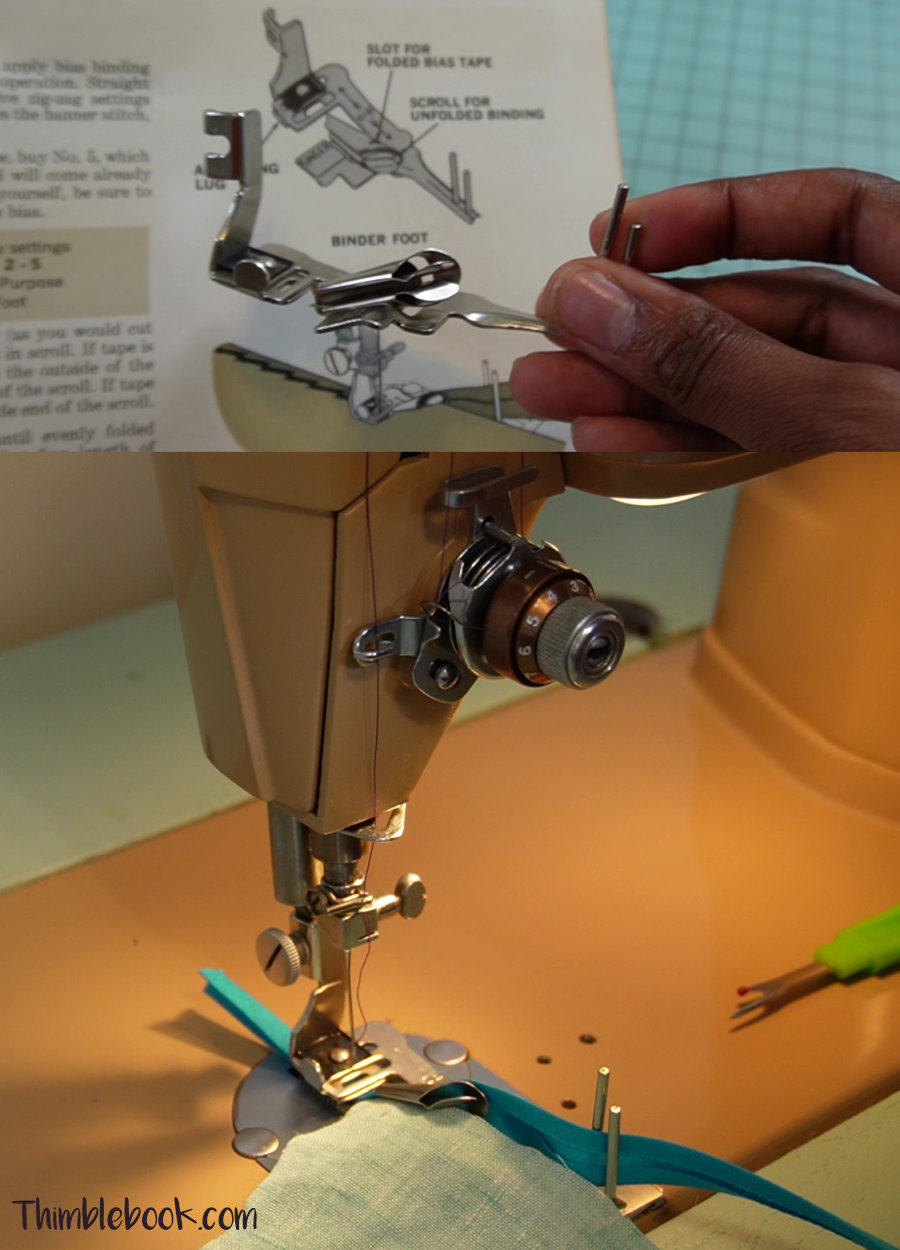
To use the Singer binding foot
Cut your binding at an angle. Then, feed the tape thru the attachment at the appropriate spot. Pre-folded tape fits thru slot(s) on the side, while unfolded works best feeding from back of attachment. Also, I find it best to use the back of attachment port for homemade binding as there are bound to be some small imperfections. Now, make sure your needle is in alignment with the bias tape. If not, there is a tab on the side of the bias attachment where you can make a small adjustment.
Place your fabric in the slot located on the left side of the binding attachment. Put the presser foot down and start sewing. Once you are done attaching the binding, sew a little bit forward and cut access tape to remove from machine.
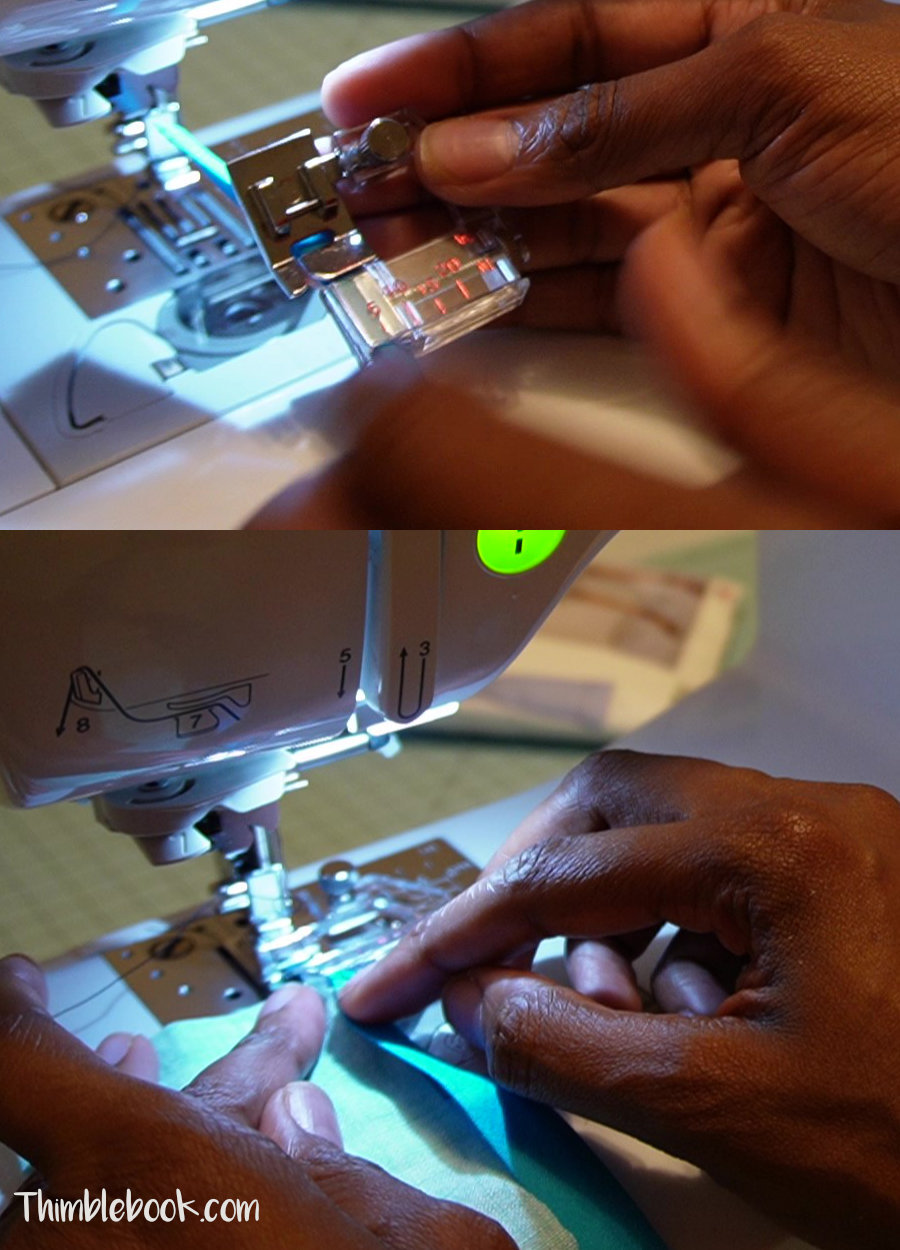
Snap on Foot
The snap on binding foot is by far the easiest to use. You just need to find the correct snap on binding foot for your machine. The correct foot will align with your sewing machine needle placement and also fit the maximum sewing width of your sewing machine.
First, place the bias binding into the foot and adjust the screw so your binding rests inside without wiggle room. Leave a small tail of bias binding of the end of the foot. Then, place the snap on presser foot onto your sewing machine. Make sure the needle will land just inside the folded edge of your bias tape. Now, place your fabric into the slot located on the left side of the attachment. Lower the presser foot and sew. Once your are done, cut the access binding tape and remove your project from underneath the machine.
No Comments