


How To Sew A Scrunchie
*This post may include affiliate links, which allow me to make a small commission off your purchases. The money is earned at no additional cost to you.
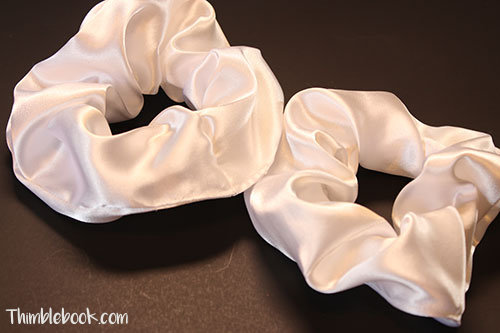
Are you interested in learning how to sew a scrunchie? Well, you’ve come to the right place. Today, I am going to show you the two most popular methods for making a scrunchie. For a visual, just check out the accompanying YouTube video.
Supplies Needed In This How To Sew A Scrunchie Tutorial
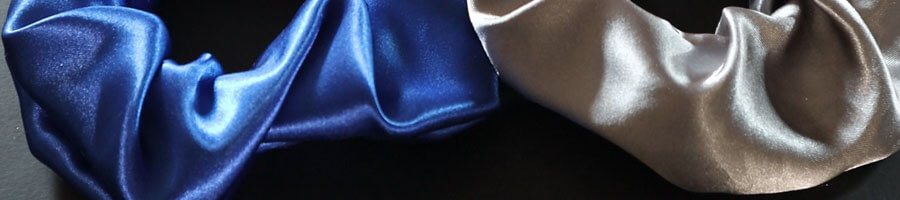
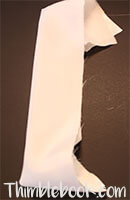
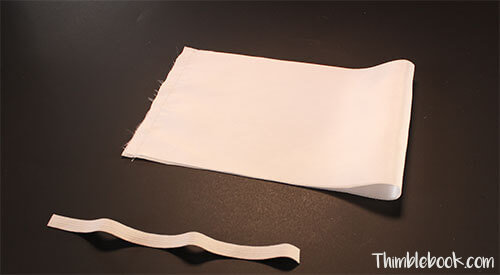
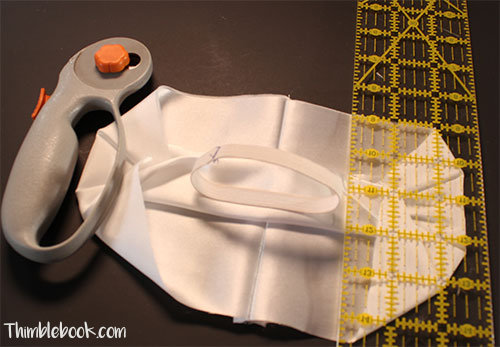
- Cotton, Silk, or Velvet Fabric cut at 18 x 5.5 Inches
- 8″ of elastic
(I like to use 3/8 elastic for scrunchies. But, it really depends on what kind of hair you have. 1/2 elastic is excellent for thick hair, while 1/4 elastic is good for thin tresses).
The Fastest, Easiest Method.
Reverse method is the fastest and easiest way to make a scrunchie. Thus, this is a method I would recommend for someone who is a beginner.
Directions for Reverse.

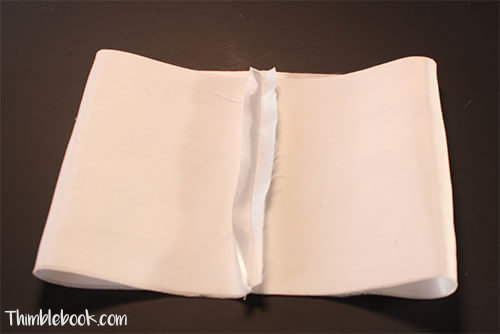
- First, bring the edges of the longest ends of your fabric together. Then, crease the fabric. Place elastic on the wrong side of your fabric along the crease. Afterwards, sew this elastic down on both ends.
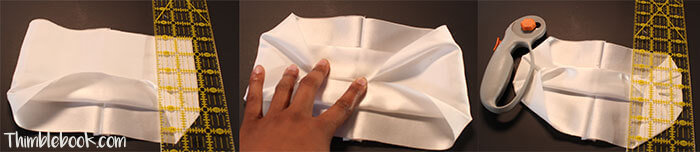
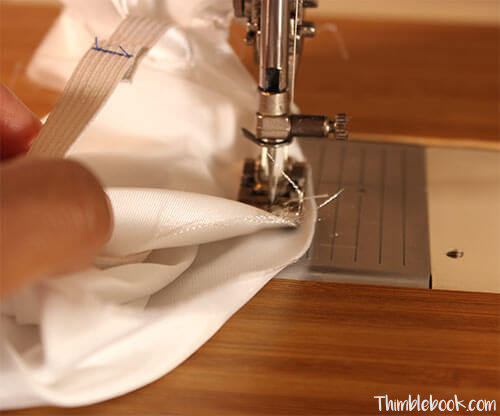
2. Now, bring the edges of the longest ends of your fabric together with right sides facing. Place the fabric under your sewing machine presser foot with about 1.5 inches of fabric behind the needle.
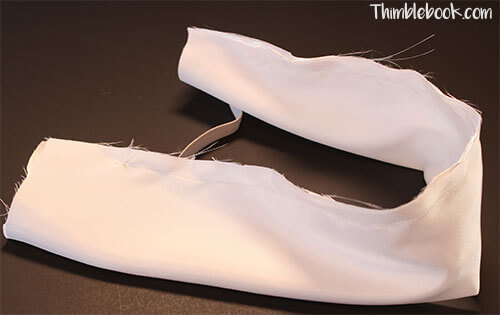
3. Sew a 3/8 inch seam and stop 1.5 inches before the end of your fabric.
4. Now, turn the fabric rights side out and place the elastic back to back. Use a wonder clip or pin to hold it in place. Now sew this seam from top to bottom.
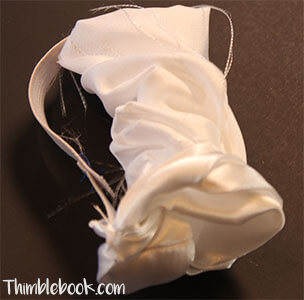
5. Last, fold in the remaining fabric and stitch your scrunchie closed.
Burritos are good. But, so is the finish on this second sewing method.
The next method for how to make a scrunchie is called the burrito method. This method is a little tricky to understand. However, it gets easier with practice and produces a better finished product.
Directions for our Burrito.

Place the ends of your elastic together with some overlap. Sew the overlapped edges together to create a circle. Now, put the elastic aside.
Place the short ends of your fabric together with right sides facing. Then, sew them together with a 1/2 inch seam allowance.
Now, finger press the seam open and center the seam on your fabric.
Flip the fabric over so the seam is on the backside. Now, fold bottom edge of top fabric layer into the center. Also, fold top edge of the top fabric layer into the center. Afterwards, fold the same layer again.
Once folding is done, place your elastic on top of the folded fabric.

Now, bring the bottom edge of your fabric thru the loop in your elastic and join it with the top edge of fabric. This makes a fabric sandwich or sorts. Sew making sure not to catch the inner fabric or elastic in the needle.
When you run of out fabric to sew, pull fabric from inside the sandwich. Pull until you can see the beginning of where you first started sewing. Once you can see where you first started sewing, back tack and remove the fabric from under the presser foot.
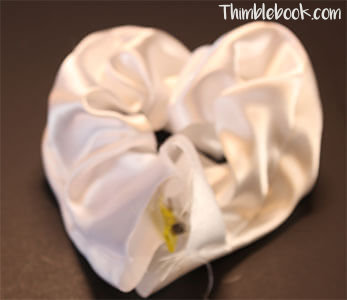
Now, use the hole left in your fabric to pull the scrunchie right side out. Fold in the remaining hole and stitch the scrunchie closed. Are there any other ways you like to make scrunchies? If so, share them in the comments.
No Comments