How to Machine Embroider on a Backpack Using a 4×4 Single Needle Machine
*This post may include affiliate links, which allow me to make a small commission off your purchases. The money is earned at no additional cost to you.
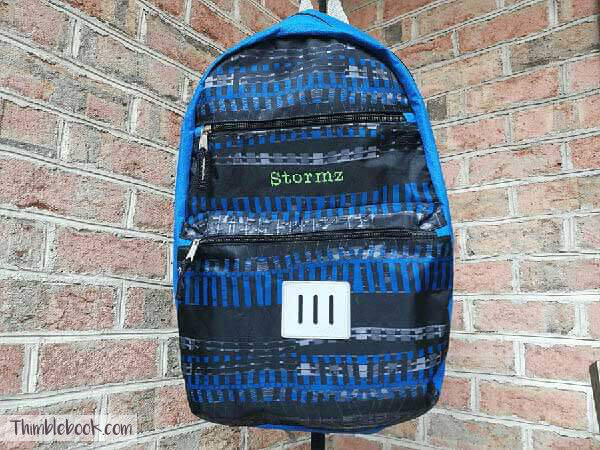
This tutorial will show you how to machine embroider on a backpack using a 4×4 sewing machine. Today, I will be using my Brother SE625 sewing machine to embroider a little boys’ backpack.
For this tutorial you will need:
- Embroidery machine
- 4×4 embroidery hoop
- Stabilizer
- Water soluble wash away stabilizer topper
- Painters tape
- Embroidery thread
- Size 11 embroidery needle
- Scissors
- Long ball point sewing pins
What would you like to learn how to machine embroider on a backpack? What color(s) would you like to use?
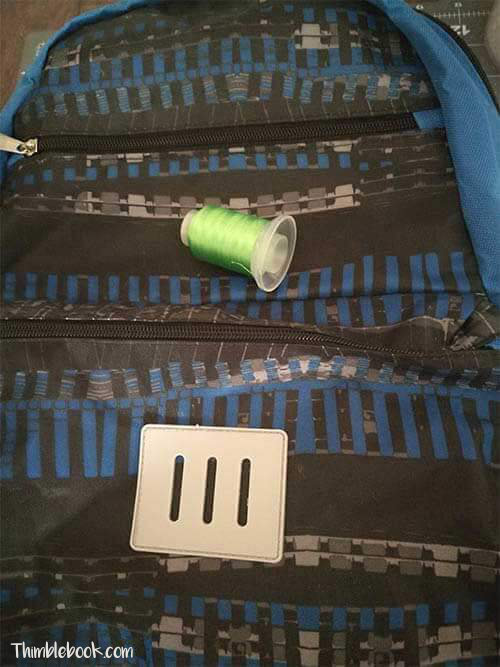
Once you have decided on a design, you must select the thread color that will stand out the most on your chosen bag. I have selected a contrasting bright green color to stand out from the print on the backpack.
Where will your design fit?
Lay out your backpack and decide the best place to put the design. Please select an area with a lot of blank space and few zippers.
Select your stabilizer!!!
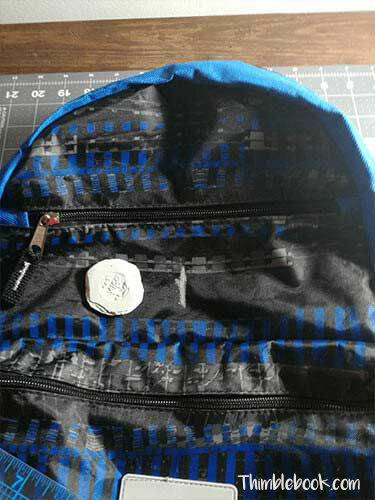
I will be using heavy stabilizer for this project because the backpack material is thin. Use heavy stabilizer for thin fabric or dense embroidery designs. If your pack is made of canvas or some other heavy material, a light to medium weight stabilizer will do. I used a 505 temporary adhesive to add a lightweight piece of stabilizer to the back of the heavy stabilizer for extra stability.

When learning how to machine embroider on a backpack, it is important to…
…float the design. Hoop your stabilizer in the 4×4 hoop. With awkward shaped things, it is always best to pin the item on top of the stabilizer instead of struggling with hooping. Make sure the stabilizer is drum tight inside the hoop.
Make sure everything is straight.
Measure across the stitch area. In my case. The bag is 10.5 across in the area where I would like to stitch.
Once you have established the lengthwise. Use fabric chalk or an erasable mark the mid-point.
Now, line up the mid-point of your bag with the middle line on your embroidery hoop.
Pin.
Keep the backpack mid-point lined up with the center of your embroidery hoop. Pin the backpack to the stabilizer. Make sure to get the fabric tight as possible. Also, keep the pins far outside of the embroidery area.
Select embroidery an needle
I always use standard size 11 needles for woven fabric with larger letters printed on them. But, smaller prints need smaller needles. If your printing small, use a size 10 needle.
Thread your machine up.
Your manual should help with this!
Enter your design into the embroidery machine.
For personalized designs, I use an embroidery software to digitize the designs. For this project, I just used a standard font that came pre-loaded on Brother SE625.
Rotate your design to go in the correct direction.
Then, make sure the center position for the needle is on the chalk mark made in the earlier step. If you have a brother 4×4 sewing machine you can test this out by hitting the little icon in your bottom right corner.
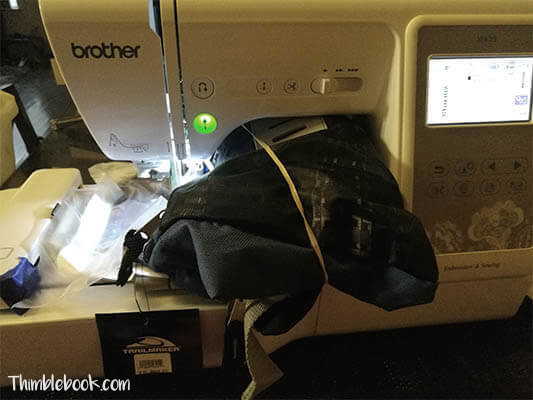
Place your backpack under the machine.
Rubber band your backpack or roll it up to keep it out of the way. Then, snap the hoop into place.
Add a top stabilizer.
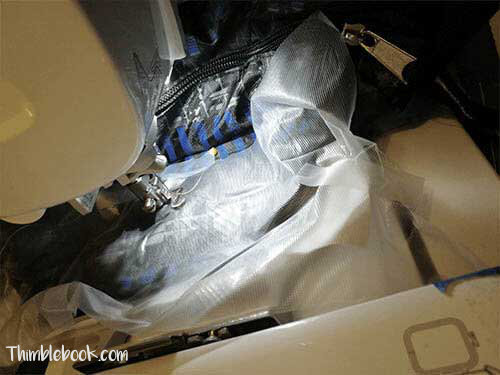
I use water soluble stabilizer on top to keep the design from sinking in to the pile of the fabric. If you don’t have water soluble stabilizer, use Glad Press and Seal. It works just as well, but it is just a little harder to remove. I simply drop the water soluble on top of everything and tape it down with some painters tape or plain old scotch tape.
Print!
Print out your design.
Add the finishing touches.
Use scissors to cut the loose threads from your design. Spray some water over the wash away stabilizer. Carefully remove the pins. Then, peel the tear away stabilizer away from your design. Congratulations! You’ve officially learned how to machine embroider on a backpack.



No Comments