


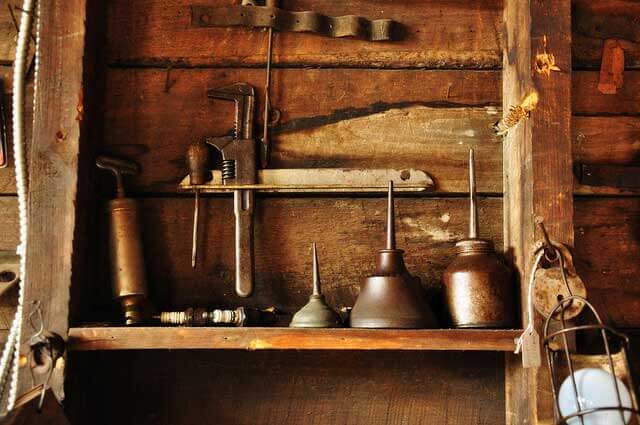
Guide to Sewing Machine Cleaning and Repair
*This post may include affiliate links, which allow me to make a small commission off your purchases. The money is earned at no additional cost to you.
Vintage sewing machine cleaning and repair can be intimidating, especially when you’re accustomed to sewing rather than working on the sewing machine itself. Here are a few tips to get you started.
Never use soap and water to clean the inside of a vintage sewing machine.
Water creates corrosion and soap will strip away all the oils from the machine, which is something you don’t want. Instead, you’ll want to use kerosene to clean the inside of your machine. Kerosene is a wonderful cleaning solution because it takes away all the dirt without being too astringent. =
I use Kerosene on internal parts because it is cheap and readily available in my area. However, denatured alcohol works just as well for cleaning out the inside of a vintage sewing machine.
There is no 1 size fits all cleaning solution for the outside of vintage sewing machine.
There is no 1 size fits all cleaning solution for cleaning the outside of vintage sewing machines because they were all painted with different finishes and exposed to a wide variety of environmental conditions. Since paint type and condition can vary between machines, its best to test one of the cleaning solutions below on a small area to see how it works first. If the chosen cleaning solution works well, then you can apply it to your entire machine. Here are the most common cleaning solutions for the exterior of filthy sewing machines.
- kerosene
(NOT FOR MACHINES WITH DECALS)
- Dawn Dish Soap & Water
- Goop
- Gojo
- Zymol Cleaner Wax
- Meguier’s Cleaner Wax
Here are a few different cleaning scenarios and what I decided to use for each one.
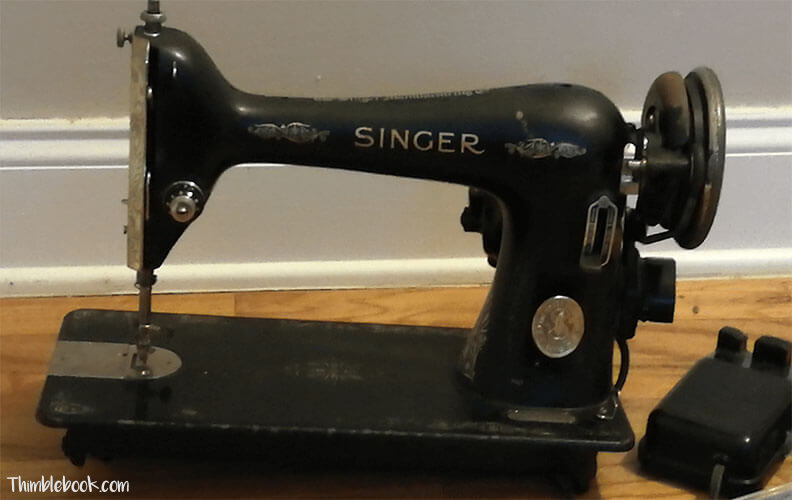
Singer 66 is dusty but still in otherwise good condition.
1) Black vintage machine covered in dust.
Plain old sewing machine oil will work just fine to clean the outside of a black vintage sewing machine. Most of these machines were painted using an oil based japanning paint technique. Therefore, using regular sewing machine oil will bring back the beautiful luster and shine without too many problems.
2) Filthy sewing machine covered in grease, mice droppings, tobacco tar, dust etc.
My first vintage sewing machine was covered in tobacco tar and rat droppings. Since there were no decals on the machine, I decided the best way to clean would be to dip a micro fiber cloth in kerosene and scrubbed the outside of the sewing machine to eliminate all the tar.
On the internal parts, however, the task was a lot more tedious because the parts were sticky and dusted with rat droppings. I started by taking extra precautions to ensure no kerosene dripped on my electrical cords. To ensure no kerosene dripped on my cords, I removed them. It took all of 2 seconds to unscrew the motor and remove the light bulb housing.
Once these electronic parts were removed. I used a paint brush and Q-tip, dipped in kerosene, to scrub the internal parts clean. It took around 3 hours to deep clean all the internal parts and remove the gross rat droppings.
NOTE: Kerosene should NEVER be used on the outside of a sewing machine with decals.
3)A filthy sewing machine covered in grease, tobacco tar, and other grime.
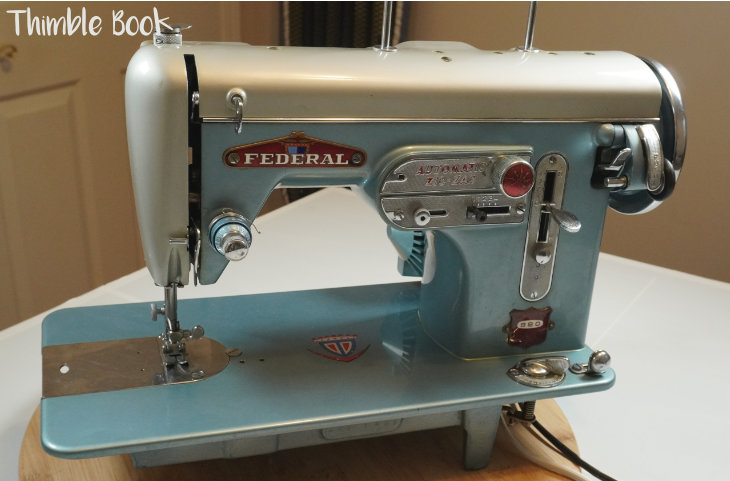
Federal 990 sewing machine cleaned with Goop.
Since the time of doing my first sewing machine restoration, my strategy has changed a little. I no longer use Kerosene on any external parts at all. Instead, I prefer to use Goop. Goop doesn’t have the odor of Kerosene and cleans the exterior of most vintage sewing machines very well.
Wax on and Wax off like Karate Kid.
Once you’ve done the cleaning of your sewing machine, it will look very lack luster. A dull sewing machine looks dirty. To make your sewing machine look fresh, clean, and shiny , use Zymol wax. Zymol
is all-natural wax that will make your sewing machine look like brand new.
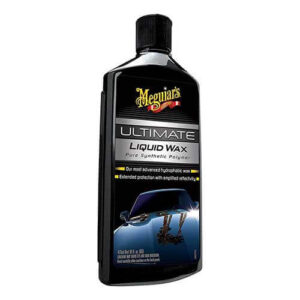
The next best wax to use on a sewing machine is Meguiar’s . I’ve used this kind of wax on vintage sewing machines because it creates a great shine too. To use your wax, simply wax on and wax off. You will need 3 to 4 coats to make your restoration job look professional. You’ve cleaned and waxed your vintage sewing machine, but…
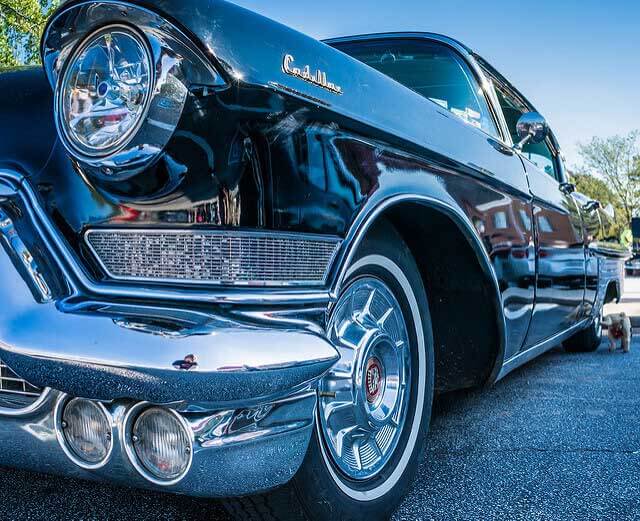
… don’t forget about the chrome.
Chrome is what makes a vintage sewing machine stand out most. It’s shiny and gives your sewing machine the look of a vintage car. Like all things fantastic, however, chrome needs maintenance.
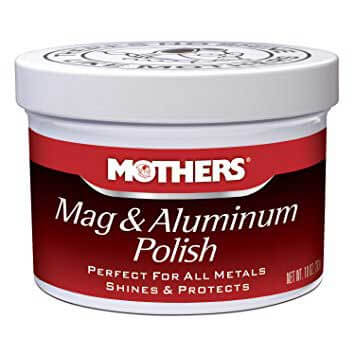
I clean my chrome sewing machine parts in the same way grandma cleaned her china, with Mothers Mag & Aluminum Polish. Apply a little polish to a toothbrush and scrub away all the tarnished spots. Then, use a microfiber cloth to finish the job. You’ve got a clean and polished surface.
Now, tackle sewing machine cleaning and repair head on by oiling her up!
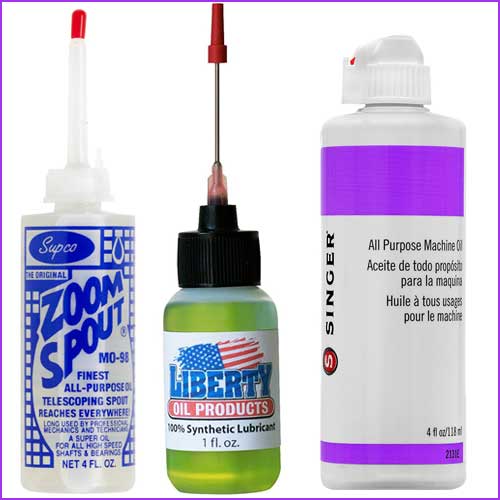
Oil is the most important part of sewing machine maintenance. It prevents parts from getting stiff and loosens parts that no-longer move. Put a few drops of oil on every moving part of your machine. However, be careful if you have a vintage sewing machine from the 1970’s and beyond. You’ll want to avoid putting oil on any plastic/nylon sewing machine parts.
The kind of oil is important.
Never use:
- WD-40 as it gums up sewing machines over time
- 3 in 1 oil as it gums up sewing machines over time
- Olive oil because it attracts rodents
ONLY USE SEWING MACHINE OIL IN A SEWING MACHINE.
Machine oil makes everything good, but when something breaks it’s not the end of the world.
When a part won’t move, don’t force it. Oil it. If it still won’t move, take a flash light and consider the matter. This is especially true for hand wheels. When a hand wheel won’t turn, most times, it just needs oil. On occasion, however, there is a deeper problem. The secondary problem is almost always the machine belt. It costs under $15 to replace a machine belt.
When something else is wrong, don’t panic.
Take a closer look at it. Is a part broken? Does look like a part is missing? Is the rotary or oscillating hook moving off schedule? Once you’ve determined something is amiss, you can always comb google for replacement parts or find a handy repairman. I hope this sewing machine cleaning and repair article was helpful.
Originally posted February 2018 & Last Updated February 2025
Other Helpful Articles:
9 Comments
Leave a response
I bought a vintage sewing machine. the needle will not move. What can I do I have oiled good.
1)Is your motor belt cracked or broken? If so, replace it 2) Do you hear motor noise when the foot pedal is pressed? If you don’t hear any noise at all, your foot pedal needs to be replaced. 3) Does the motor groan without moving the needle? This is sign you need to pick up new motor brushes from the hardware store.
Thanks so much for this. My great grandmothers singer treadly machine and Wilcox and Gibb handcrank are very covered in tobacco tar and I didn’t know what to use to take it off. I will try kerosene when I can go outside as it will smell bad. I have found some needles…one with a round circumference and no flat bit…it has a groove all the way up it.the other three have a groove all the way up but have a flat side? I’m thinking the round one is probably right. But I will have plenty of time cleaning it before I come to that and I think there’s a needle shaft stuck into it so hopefully I can see from that which one is the right one. I can’t wait to see what will happen after its cleaned.
Great you’ve gout a Wilcox. The kerosene does work very well to remove tobacco tar. However, you must be careful not to get that on any gold leaf details. You’ll need to just use warm soapy water on the delicate gold leaf details. Yes, many of the older vintage sewing machines do take round shank needles. Hope you enjoy your machine 🙂
A Wilson and Gibb handcrank! Wow, that’s a beauty and you’re lucky Eli.
On another subject:
Sometimes a “frozen” part or parts simply won’t loosen with just oil. Get a can of Free All (Amazon has it)- it works great. Follow the directions and make sure you’re outside or someplace with excellent ventilation. As far as oil is concerned, I like the Zoom Spout brand too, but I use Tri-Flow clear grease for gears. It does have Teflon in it but has never caused me a problem. I like to use q-tips or an art brush dipped in alcohol to clean dirty parts and linkages before oiling-it’s good at removing grunge. But if you happen to be working on a lovely antique having that gorgeous shiny black finish and decals, be careful that you NEVER get alcohol on it. It will ruin the finish! Clean it gently (Sheree describes how above). Rinse and dry just as carefully using very soft cloth. Wax gently too, especially if you run a finger over the decals and can feel edges. That means the glazing is worn and rubbing hard when waxing might damage decals. Just be gentle.
Hope this additional information helps someone!
Sheree – thank you so much for the tip on Mother’s mag and aluminum polish! That stuff is new to me and I have some machines that really need it. I’ve been sewing now for over 60 years; I love it and I love sewing machines. I particularly love learning new ideas and techniques for reconditioning vintage machines. You just did that for me. Old dogs really can learn new tricks! Thanks again.
Thank You 🙂
How much kerosene do you use to clean the nicotine tar? Or atleast know it’s gone?
It’s going to be different depending on how saturated your machine is. Mine took 1/4 cup of Kerosene. When you clean, just make sure to get your cloth or brush damp and not wet. You’ll naturally know when to re-dip your cleaning cloth because it will just be filthy. Thanks for visiting the blog 🙂