


1 Ultra Modern Pin Cushion Thread Catcher Pattern
*This post may include affiliate links, which allow me to make a small commission off your purchases. The money is earned at no additional cost to you.
Do you want a pin cushion thread catcher pattern with a sleek, modern design esthetic? Well, you’ve come to the right place. Below, you’ll find an in-depth tutorial and YouTube video sew along.
For this project you will need:
- Pin Cushion Thread Catcher Pattern
- 1 Yard Main Fabric
- 1/2 Yard Accent Fabric
- Fat Quarter Cotton Lining Fabric
- Thread
- Play Sand
- Emory Sand
- 18″ of Cording
How Follow This Pattern
For this make, I used waxed canvas. However, you are very welcomed to use any medium to lightweight woven fabric. On the pattern itself, there are hearts to denote where to cut on fold. Also, you’ll find straight lines along some of the pattern pieces. These line simply denote where two pattern pieces come together.
Please Note: All seam allowances are 1/2″ unless otherwise stated.
Making Pin Cushion Thread Catcher Pattern
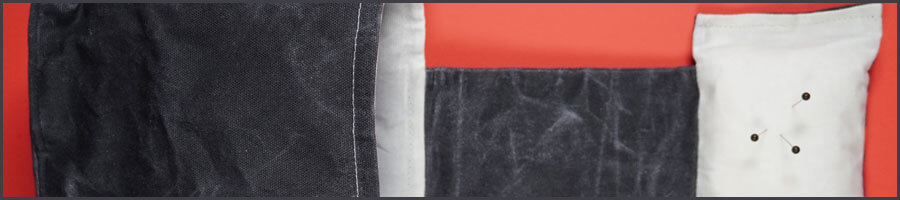
To make this pattern, start by sewing up cotton lining piece S3 on 2 sides. On the third side, sew leaving a 1/2 inch hole wide enough for adding sand later. Rinse and repeat this process with S4. Then, sew S3 and S4 together at the lined area on the pattern piece.

Fill with sand on one side. Temporarily, close the hole with tape. Now, fill the other side and hand sew both sides closed.
Stitching the connector
Stitch connector C together with right sides facing. Then, turn C right side out and set it aside.
Creating An Awesome Pin Cushion.
For creating the awesome pin cushion, we will start by sewing T1 & T2 together with right sides facing. Later, this will make the front of your pin cushion. As for now, we will set it aside to work on the back part of the pin cushion.
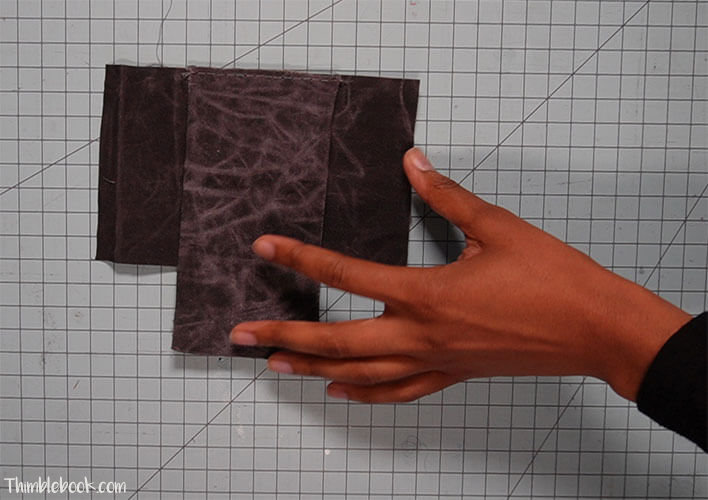
Grab T3 and place connector C on top at the straight line denoted on the pattern piece. Baste it in place. Now, fold the loose end of C down so it doesn’t get stitched in the next step.
Place the front of the pin cushion (T1 & T2) on top with right sides facing, making sure T2 falls to the left. Then, stitch around 3 sides leaving the right side open. Once sewing is done, turn the pin cushion right side out.
To complete the pin cushion portion of this project, stuff the sand bag down into the pin cushion. Fold raw edges in. Stitch.
Pre- Making Cording
Cut cording at 18″ long. Cut out fabric on the fold at 18″ long and 5/8″ wide. Fold fabric around cording, so the cording is sandwiched between.

Adding A Great Thread Catcher
Sew B1 main fabric layer together on one side with right sides facing. Open it and add optional cording on top. Baste the cording down with raw edges aligned. Then, fold B1 together and stitch down the other side. Once this is done, you will have a circular piece of fabric. Add piece B2 on top and temporarily hold it in place with pins or wonder clips. Now, stitch B2 down. Repeat this process with the accent fabric layer, but omit cording.
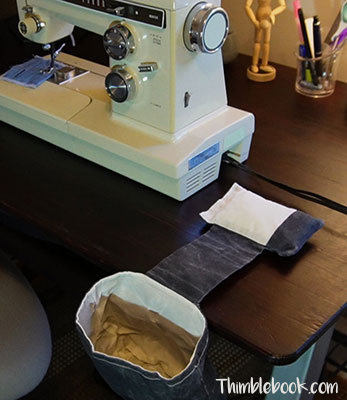
Grab B1 main fabric layer and baste the pin cushion onto its surface. Stuff main fabric layer inside accent fabric layer with right sides facing. Stitch all the way around, but leave a big enough hole to pull the thread catcher through to the right side.
Once your thread catcher is turned right side out, turn under the raw edges and sew all the way around. Well, that completes this project. I hope you enjoyed making this pin cushion thread catcher pattern. Please share your beautiful version of the make on social media so we can see it too 🙂
No Comments