What is The Best Ironing Board On The Market?
*This post may include affiliate links, which allow me to make a small commission off your purchases. The money is earned at no additional cost to you.
Are you looking for the best ironing board? Well, you’ve come to the right place! I’ve taken information from a number of sources and complied them into one place so you don’t have to do a bunch of laborious research.
.
What to look for in an ironing board
There are seven things to consider when shopping for the best ironing board.
1. What item(s) will you be ironing most?
A quilter is going to need a wider ironing surface for ironing out the larger pieces. However, a quilter can also get away with using a small board for pressing little quilt blocks. By contrast, the needs of a garment maker are a little different. A garment maker needs a large ironing surface for shirts, but a narrow end for sleeves.
Wider ironing surfaces cut down on ironing time. At the same time, wider ironing boards tend to have wider ends, which makes it quite difficult to iron narrow sleeves. For this reason, I tend to believe standard width ironing boards (between 13-15 inches wide) are most suitable for garment makers.
2 Best Ironing Board(s) for Quilter
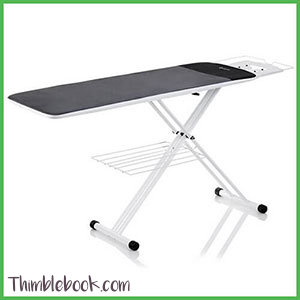
Reliable 320LB 2 in 1 Premium Home Ironing Board With Verafoam Cover Set
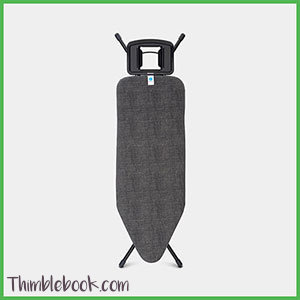
Brabantia Solid Steam Rest Ironing Board, Size C (49×18 in), Denim Black
Best Ironing Board for a Garment Maker

Brabantia Adjustable Steam Rest Ironing Board, Size B (49×15 in), Denim Black
2. How much space do you have?
For those of you blessed with a large space, you don’t have much to think about. However, space deficient sewing enthusiasts have a lot more to consider. Small spaces are suitable for wall mounted, door hanging, table top, makeshift, and miniature ironing boards. But, each of these ironing board options has its own cons, which we will get to discussing below. You have to ask yourself, “Does saving space mean more than the convenience of using a standard size ironing board?”
| Option | Pros | Cons |
| Wall Mounted | Stable Easily Folds Away |
Must drill holes into the wall Needs to be on a stud for stability |
| Door Hanging | Quick solution- hang on door done Easily folds away Invisible once a door is open |
Must have a solid door (not hollow) Can leave marks on door Not stable as other options |
| Table Top | Convenient option for piecing Easily tucks away Quick solution |
Must provide a tabletop Time consuming to iron large items Difficult to iron sleeves and pant legs |
| Makeshift board | Convenient option for piecing Customizable |
You have to make it Time consuming to iron large items Difficult to iron sleeves and pant legs Must provide a tabletop for it to rest upon |
| Miniature | Like traditional ironing Height adjustable |
Takes up more space than other options Takes longer to iron large items |
Best wall mounted
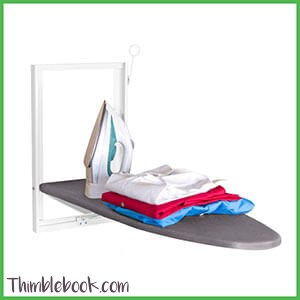
XABITAT Wall Mounted Ironing Board
Door hanging favorite
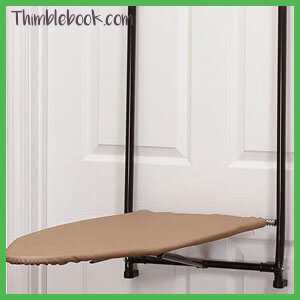
Household Essentials Door Small Board with Iron Holder
Best table top
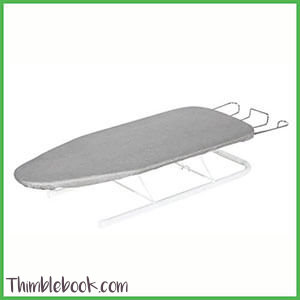
Storage Maniac Tabletop Ironing Board with Iron Rest
Favorite plans for a makeshift board
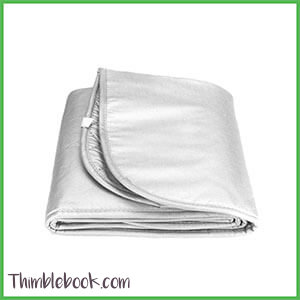
To make the ideal makeshift board you will need:
- 1 ironing mat
- 1/2 thick piece of plywood
- 2 pieces of Quilt batting or foam
- 1 stapler
Go to your local hardware store and have the plywood cut to size. Make the plywood one inch shorter horizontally and vertically than your ironing mat. Then, staple the quilt batting to the back of your plywood. Last, staple the ironing mat to the plywood. Done! Now, you can place your new ironing board on any tabletop surface to iron things.
The secondary “lazy option” is to get plywood and lay an ironing mat on top without stapling anything 🙂
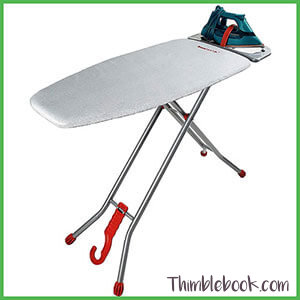
Best miniature
3. Where are you going to store the ironing board?
Between a wall and washer/dryer unit? Between a wall and refrigerator? – You need something ultra thin!
Hanging on a rack? – You’ll want a board that is lightweight and easy to hang from a rack. A standard T-leg or Y-leg will work.
Lightweight and easy to hang on rack
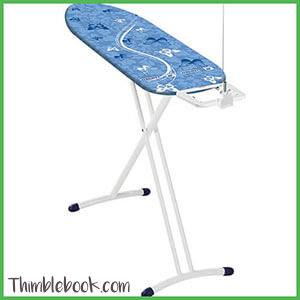
Leifheit AirBoard Premium Lightweight Thermo-Reflect
4. What kind of iron do you use?
If you are using a stem generator iron, you will need a super sturdy ironing board with a nice thick pad. This will prevent steam from traveling thru the ironing board and wetting your floors. You will also need a different type of iron rests to accommodate the water reservoir.
Best for a steam generator iron
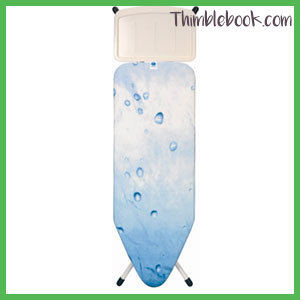
Brabantia Solid Steam Rest Ironing Board, Size C
5. What is your height?
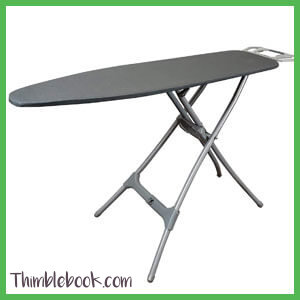
This is a big thing to consider because it is horrible to bend over an ironing board when it is too short – especially when you have back problems. Likewise, it is bad to have an board that cannot be adjusted in height for taller or shorter people. Generally speaking, you will find vast height adjustments in any from the mid-price range. However, all of them don’t get to the same height.
Tallest ironing board
6. How much money are you willing to spend?
Spending more money doesn’t always mean you’ll receive a better product. However, it does increase your chances of getting a product that will lasts a long time. Once upon a time, I acquired a vintage board from a Goodwill for $5. It lasted for several years without incidence.
The moral of the story is: Don’t let a cheap board with a bad cover fool you! You have a good board so long as it has nice sturdy legs and height adjustability. Simply make or buy a cover and add a layer of quilt batting underneath to increase thickness and overall quality.
Best semi-budget
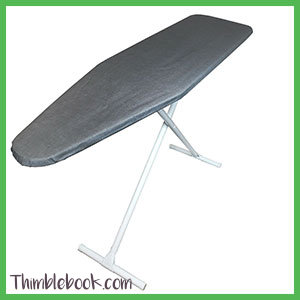
Homz T-Leg Ironing Board, Charcoal Gray
7. Do you have pets or small children?
Children and pets alike have lived for a centuries inside homes without safety features on anything. Now, however, there are ironing boards available with additional safety features. The added safety features will prevent your board from collapsing and causing burns or other serious injuries.
Most child/pet friendly
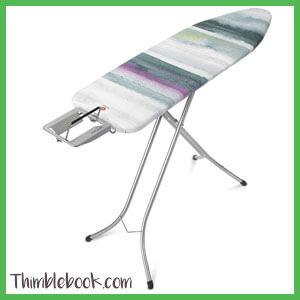
Brabantia Steam Rest Ironing Board, Size B (49 x 15 in), Morning Breeze
Other Helpful Articles
2 Comments
Leave a response

I never thought a whole lot about ironing boards, other than to try and figure out what size I wanted for quilting. So after seeing ideas on Pinterest, I bought some 3/4 inch plywood, had it cut and brought it home. I sanded the edges and corners, padded it, covered it and attached it to my nice, new, sturdy & steady, TALL (no backaches) Brabrantia board. Lovely! Then I went to fold it up, lift it and hang it on the heavy-duty wall hanger I’d jerry-rigged. A-a-a-a-a-g-g-g-h!!! It was SO HEAVY I could barely lift it! So off came the plywood and back I went for some lighter 1/2 inch plywood. Brought it home, process repeated, STILL too Heavy! Whew, at my age (70) this was hard work! Now what?
To shorten a story that’s already a bit too long, I ended up with two, 4ft long, 2.5ft wide, wooden kitchen islands with shelves and a drawer (great storage!) One has the 1/4 inch ironing board top screwed onto it from underneath, and the other one has a 1/4 inch piece of sanded and painted plywood topped with my cutting mat. Now I’m good for ironing quilt fabrics, cutting quilt pieces, regular sewing and ironing, and….the lovely Brabantia board hangs on the wall, ready when I need to iron a shirt or pants for my husband – and I can lift it!!!
Awesome!