


Homemade EMF Protection For A Solar Power Bank
*This post may include affiliate links, which allow me to make a small commission off your purchases. The money is earned at no additional cost to you.
In this blog article, you will learn how to create homemade EMF protection for your solar power bank or for other devices. Between this blog article and an accompanying YouTube vlog, you should be able to find enough information to get started.
Measurements are always the first step!
Measure your product and always add 1 to 2 inches for extra space. Then, add another 1 inch so you can have a 1/2 inch seam allowance on each side.
For the sake of simplicity in pattern making, the Bluetti solar power bank pattern ended up being a 30×30 bag cut on the fold. To create the base, I simply cut out a 6×6 square on each side of the folded fabric. The removed fabric left me with 18 inches of width for the 17 inch Bluetti base.
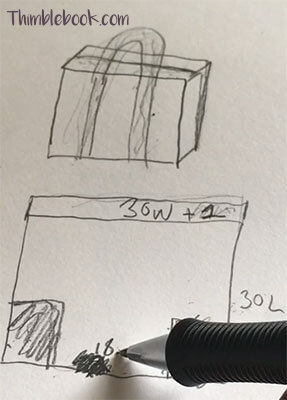
Please, do apply the same measurement method to your solar power bank or any other kind of faraday bag make because it will reduce confusion and headaches. Most importantly, consider how the bag will open and close. For myself, I decided to use a zipper for the bag opening. The zipper required me to use extra fabric to create a lapped zipper for extra EMF protection.
All the supplies…
For the Bluetti solar power bank EMF bag, I used:
- 1 yard Canvas
- 1 yard EMF Fabric
- Upholstery thread
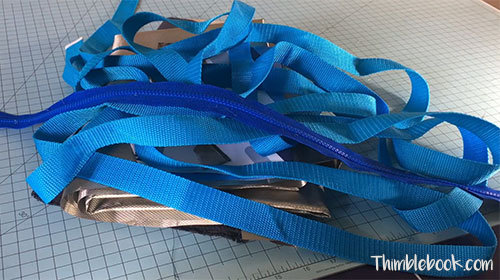
- 4 yards of 1″ Nylon webbing (2 yards for each side)
- 28 inch YKK zipper
- Paraffin (8oz)
- Bee’s Wax (4oz)
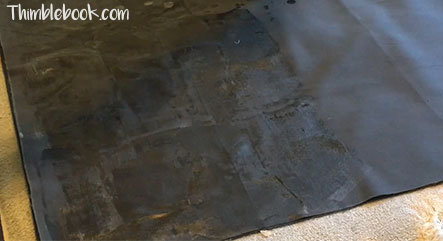
Wax the canvas
Add Parafin and Bee’s Wax to a crock pot. Turn the crock pot on high. Then, wait for the mixture to melt. After the mixture is melted, fold the fabric in half and brush the mixture on. Make sure ever piece of the fabric is soaked. Then, use an iron to ensure the wax has fully soaked into the fabric.
Allow the fabric rest until it is fully dry. Now, you are ready to sew up your homemade EMF bag.
How to sew up the homemade EMF protection
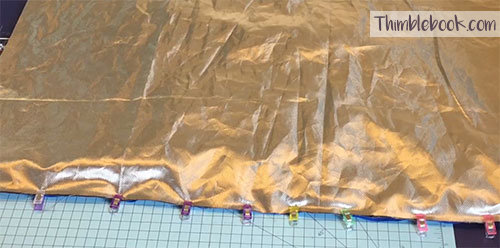
To create this homemade EMF protection, start by laying the EMF fabric down. Then, lay the canvas fabric on top with the right side facing upwards toward you. Now, place the YKK zipper down with the right side facing the right side of your canvas fabric. Pin in place. Sew and top sew.
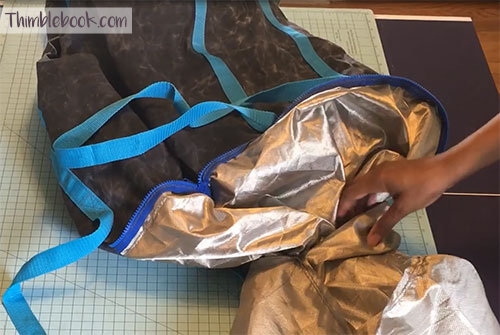
Now, fold up the Nylon webbing 1 inch on each side. Place the folded webbing onto the bottom of your bag and pin it into place. Now, sew the webbing down and secure it with a barn door stitch on the bottom and top. Note: I usually place the barn doors 2 inches below the top of the bag and two inches above the bottom.
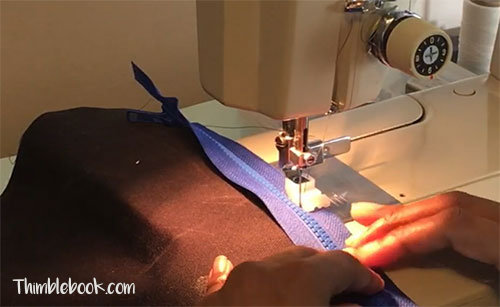
Once your nylon webbing is attached, pin the other side of your zipper to the opposite side of the fabric. Sew the zipper down.
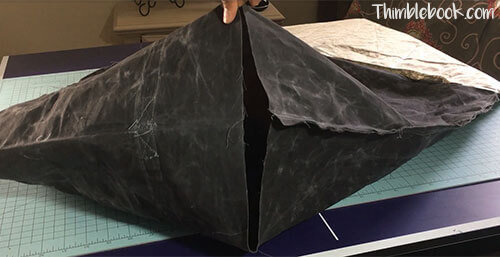
You should see the bag taking shape now! Now, sew the corners of your bag closed.
You are now in the home stretch of making this bag. To finish, place the lining and canvas fabric together with right sides facing. Sew up both sides, leaving a big enough hole in the lining to turn this bag to the inside.
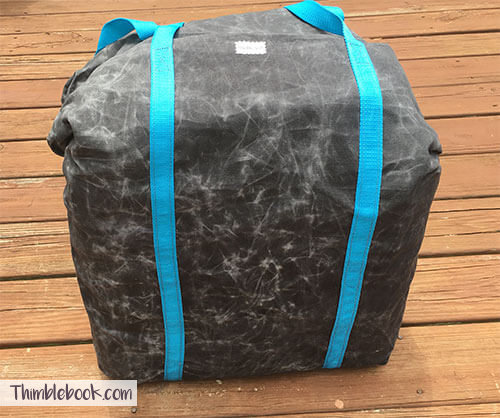
Last, you’ll want to turn the bag right side out and sew the hole in the lining closed.
No Comments