


The Beginners Guide: How to Sew a Straight Line
*This post may include affiliate links, which allow me to make a small commission off your purchases. The money is earned at no additional cost to you.
Do you ever wonder how to sew a straight line? If so, you’ve come to the right place. 99% of people hesitate to start sewing because they feel intimidated by the idea of sewing a straight line. But, I am here to let you know it isn’t hard when you employ these simple strategies.
First, set yourself up for success by prepping the material.
Like off road traveling, sewing on wrinkled fabric requires much more maneuvering and skill. However, when you iron the wrinkles out beforehand, the fabric becomes like a paved road where it is less likely to go off course.
Extra hold is your friend. No, I don’t mean hair spray.
Pin your fabric together so it doesn’t shift or move when you are trying to sew. This will prevent you from sewing off course. *Yes, the pins can easily be removed as you stitch down the seam.
Are you intimidated by the idea of removing pins while sewing?
There are a few alternatives to using fabric pins. The alternatives include:
- A washable clear glue stick
- Wonder clips
- Mini cloths pins
- Temporary adhesive spray

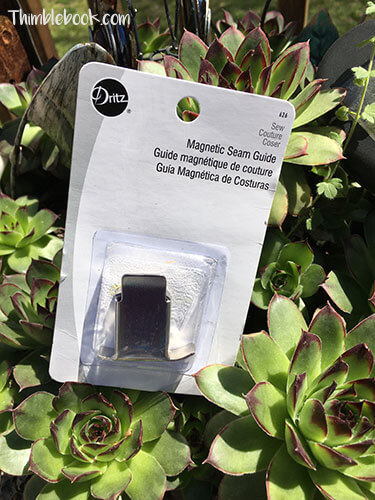
1 useful tool.
The #1 tool for “keeping it in the road,” is using a magnetic seam guide. The guide is a magnetic tool you place on the needle plate of your machine. Garment makers like the seam guide to live at the 5/8 mark because 80% of seams are sewing at this measurement.
When you sew with the guide in place, it will keep your fabric from running beyond the guide. For example, I set the seam guide at the 5/8th mark. So, my fabric will never run beyond the 5/8ths.
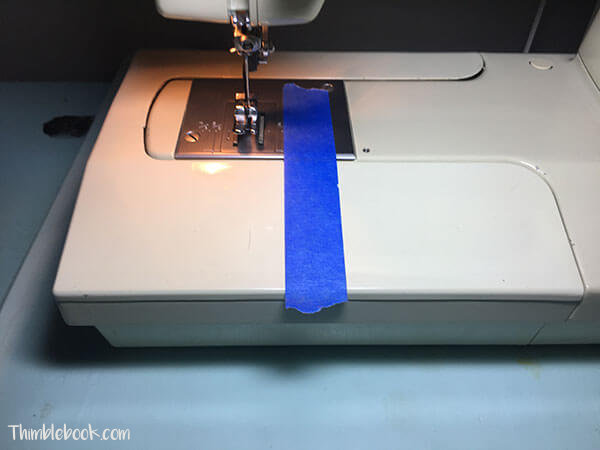
When you don’t have a seam guide, use painters tape or washi tape.
Place tape on the line where you would like your fabric to rest. Don’t sew beyond where the tape begins. With this method, you will find your lines surprisingly straight.
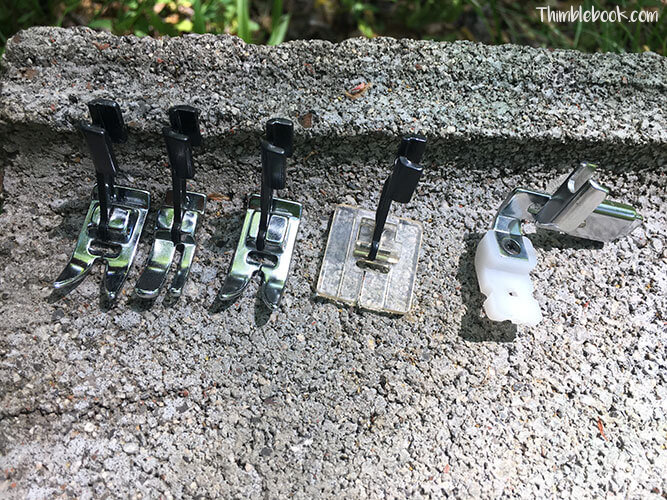
These feet came with my Kenmore 158.19412. The second foot from the left is designed for a basic straight stitch.
You need to have the right shoes for the job.
When you go hiking, high heeled shoes just won’t work! Likewise, you must have the right foot on your sewing machine to sew in a straight line. When you are learning to how to sew, it is best to start with cotton fabric, a plain old straight stitch, and a very basic straight stitch presser foot. For more detailed tasks, however, you will need to change shoes! 99% of the time, you can figure out the right foot to use by looking in your sewing machine manual.
Don’t think too hard
When you sew, don’t work hard to push the fabric through your machine. Instead, let the feed dogs do most of the work! The only thing you need to do is put your hand on the fabric and hold it steady. Forcing your fabric won’t do nothing but cause you to color outside the lines.
Practice makes perfect when it comes to learning how to sew in a straight line.
Before threading your sewing machine, get a blank sheet of notebook paper. Practice, sewing on the blue lines of the notebook paper. This will allow you practice sewing without wasting fabric or thread. After a few tries, you will know how to sew in a straight line and won’t need any further practice.
Other tips and tricks
The main thing, above all, is to get started sewing. No project will ever be completed if you don’t start somewhere. In the grand scheme of things, you can get away with stitching a few not 100% straight lines so long as they aren’t too off course. However, I don’t think anyone will have problems after following the above mentioned tips.
No Comments